Did I get it in your head? Am I the only one who thinks of Sister Act when they hear that song?
Anyway, I am sitting here covered in grout and my back aching to tell you how the grout is going. I say "how its going" and not "how it went" because we are still working on it. It is tough to do this at night after dinner and hitting the gym. Still I wanted to let you know how it was going and give you some play by play.
First, here are the materials we bought for this project.
Unsanded Grout- this will depend on how wide your lines are. If they are less than 1/8" they recommend unsanded but do the research before you buy.
Sponge
Unsanded caulk for bath and tube- I used the same brand as the grout so the color would match
Cheese cloths
Grout Sealer
Grout float
So the first thing we had to do was mix the grout. There are many opinions of what the grout should look like but Tim focused on the consistency of peanut butter. We didn't want to mix the whole bag at once since it dries quickly and they recommend doing small sections at a time, we "winged" it.
 |
| Action Shot! |
I should probably mention that we bought the mixing tool that attaches to your drill. It was less than 10 dollars and in our opinion, worth every penny. And it beats having sore arms.
Research said to start in a corner and work diagonally to make sure you get in all the cracks. I used the small side to push the grout farther in the lines and then the longer side to swipe away the excess, first at a 45 degree angle and then at a 90 degree angle. Tim tried to take some action shots so you can get an idea of how it looks.
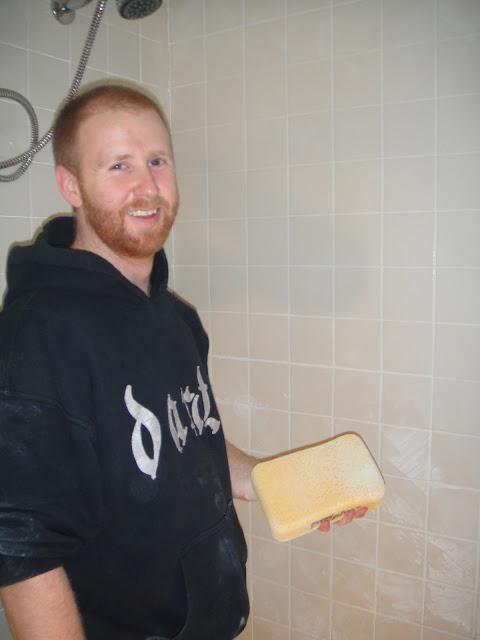
I"m smiling because the tiles were looking better already! Nothing beats seeing results fast. After I finished grouting and the lines were dry to the touch, Tim took a rung out sponge and went over the tiles in a circular motion. Here he is excited to do that.
I'm not sure if you can tell but there is a haze over the tiles. Thats normal. After he did the first round of sponging, he washed it out, made sure it was rung out completely, and then went through the tiles again- this time focusing on cleaning the lines. Make sure the sponge is rung out fully or the grout will be weaker.
Look at it shining already! After that the direction said to wait 60 minutes and then go over the tiles with a cheese cloth so we waited and then went over it with a cheese cloth. What a even bigger difference! To give you an idea here are the tiles pre cheese cloth.
And here they are post cheese cloth.
So there we are. We still have another wall and the floor to do and hopefully that will be finished this week and then we can seal it this weekend and finally use it again. I can't wait.
Is anyone else working on bathroom projects? Am I the only one who loves instant results?


No comments:
Post a Comment