
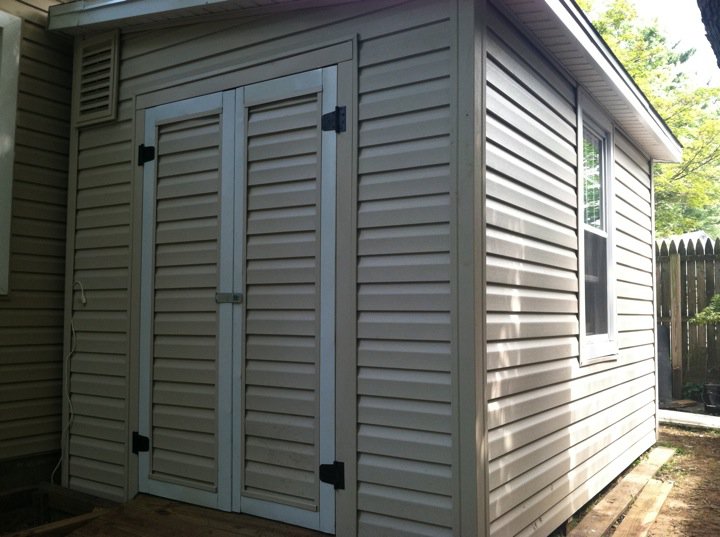
12’ * 8’ Shed
Materials Needed
· 15- Sheets ½” OSB @ $6.17 each = $92.55
· 4- Sheets ¾” Advantec plywood @ $32.86 each= $131.44
· 1- 6X6X10’= $23.75
· 4- Hinges@ $7.59 each= $30.36
· 1- Locking Hasp = $10.97
Siding
· 2 ½ Squares of siding= $125.00 each square= $312.50
· 4- corners @ $18.00 each= $72.00
· 8- J channels @ $6.18 each= $49.44
· 4- Vented soffit @ $14.37= $57.48
Roofing
· 2- Glue Down roll roofing @$32.00 each= $64.00
· 2- Gal adhesive @ $16.07 each= $32.14
· 12- Roof tie downs @ $1.39 each = $16.88
Window
· 1- 3’ X 5’ window= already owned (thanks to the Father in Law)
Other Materials
· 40- 2X4X16 PT= already owned
· 2- roll felt paper =already owned
· 1- roll coil= already owned
TOTAL: $893.62
So let's take a look at the a comparable shed you would get at a hardware store.

Guess how much this 8' * 12.5' plastic shed is at a hardware store that should not be named??????
$1,299.00! That's right. We were saving enough for a few fancy dinners out after this.
So my wonderful hubby went out and got all of the supplies so we would be ready the weekend that his dad came to work on the house. Look how happy he is to start Operation: More Storage! (The shed will actually be located at the top of that hill so it doesn't take away from our awesome backyard).

Since I am not a construction expert, I will show you the steps we took using pictures. This project happened over 3 weekends and with help from our dads and my brother. They may have made fun of me for taking these pictures but now we will have a great time line of all the hard work we put in.

We hung siding on the first wall so we could shift the shed closer to the house.

Next we built and secured the opposite wall.
 | |
| Here we are starting to build the last two walls. |
 |


What's the biggest project that you did on your own at your house? Did you have a friend or family member help you like we did?
Tomorrow I hope to let you guys know how that soup recipe turned out!
No comments:
Post a Comment